
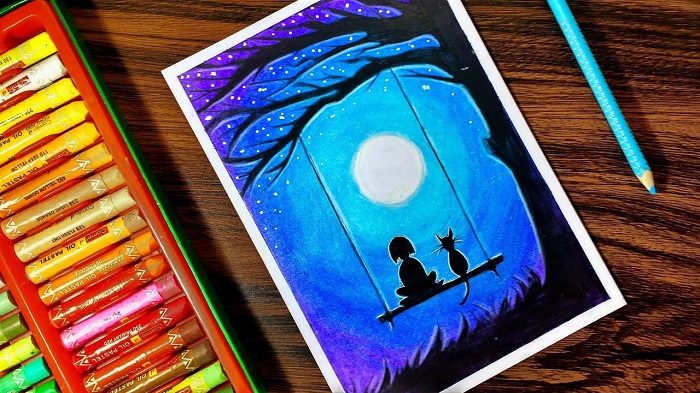
Oil Pastels : An Introduction
For the beginner, a set of oil pastels would make no difference from a box of crayons. They look pretty much the same, some would say. So, what’s all the fuss about? Let’s get something sorted out before we go ahead with further details.
How different are oil pastels from crayons?
Oil pastels are a huge step up from the ordinary crayon. Crayons are primarily made of wax. But oil pastels are made with non-drying oil AND wax. Besides this, there is a chasm of a difference as to how both work. Working with crayons needs more effort to cover an area with colour.
But that is not the case with oil pastels. A seasoned artist will throw in adjectives like silky, glossy, creamy, buttery, rich and soft to describe how an oil pastel works. Oil pastels also come in a wide range of colours and shades that are every artist’s delight and dream.
This beginner’s guide will give you a better idea of using oil pastels to enhance your creativity.
Uncover More About : Painting Canvas: The 411 You Need To Get Going
Why Are Oil Pastels Suitable For Beginners?
- Painting with oil pastels is most suitable for beginners because they work on almost any kind of paper or canvas.
- The pastels can be used directly and there is no need for any medium, solutions or a bunch of brushes.
- They are less messier than watercolours or oil paints.
- There is less wastage in comparison to other mediums.
- A single box of oil pastels can give you a range of colours and shades with lustreless, matte and satin quality finishes.
- They are water -resistant.
Kickstarting Your Work with Oil Pastels
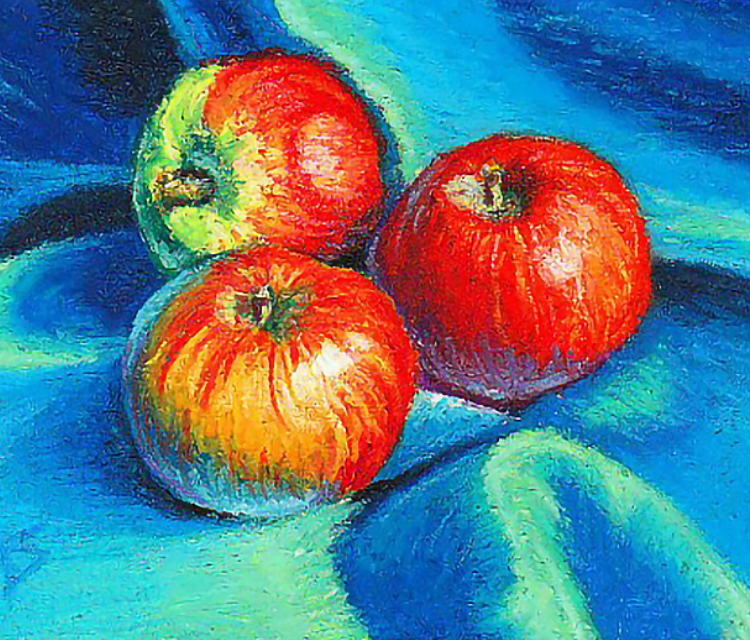
The best way to start off your experimentation with oil pastels is to be wise and go for something easy to replicate. It could be a simple picture of a fruit or vegetable. Although any paper will work well, a thicker sheet of paper will make a big difference. Besides, the oil in the pastels will tend to smudge through the thinner sheets.
Blending techniques
For those who aren’t afraid of getting their hands dirty, fingers are the best tools to blend in oil pastels. The simple technique is to apply one colour and then apply the second colour right next to the first one. Blend both colours using your fingers to do the trick. You can also experiment with various objects but the results will vary.
The best thing about oil pastels is that they can be erased easily without much hassle and fuss. Simply use a fine blade or sharp object to remove any excess colours. Following these techniques, you can easily get the work done on your first DIY with pastels.
The Finishing Also Matters
Oil pastels do have oil in them, hence it makes the drying process a longer one. Besides that, the material almost never dries up in a way that keeps the medium intact and free of smudges and blotches. This is where a fixative comes in use.
While most artists will recommend against a fixative to preserve your artwork, it might be the only short term solution to keeping the oil work intact.
Framing Your Work
Always remember that oil pastel works should NEVER be framed with the glass close to the colours, because they will surely smudge on the face of the glass. So the frame has to give room for the painting, or better still, apply the fixative and ditch the glass.
Get confident with oil pastels
Nothing is intimidating as long as you master the art of using it. Oil pastels work with the same rule. The more you use them, the better you get to know them. Practice makes perfect and working with oil pastels can be very soul-satisfying!!