
Making A Papier Mache Teacup : Required Materials
Papier Mache teacups are cute , adorable little things that look like they’ve popped right out of a fairytale book. They are extremely easy to make. Crafts using paper cups is a fun-filled project that is suitable for both children and adults who are looking to unleash their creative side. So, let’s get going and take a look at the materials we need.
You will need:
- Old newspaper
- A teacup of your choice
- Clingfilm
- PVA glue
- Acrylic Paint
- A slim-necked jar or bottle
Let’s get started!
Uncover More About : Simple Newspaper Craft Ideas For Your Kids
5 Easy Steps To Make A Papier Mache Teacup
Step 1: Making the papier mache
Mix water and PVA glue in the ratio of 50:50 in a wide bowl. The two materials should be mixed thoroughly till they attain a nice consistency. Next, cut the newspaper into strips and keep them ready. These are the basic steps to make a papier mache.
Step 2 : Covering the teacup in cling film
Wrap the teacup in the cling film, starting from the base. Tuck all the excess cling film inside the cup. Wrap the cup handle separately. The clingfilm must be tightly and neatly wrapped , as this forms the base for the teacup.
Step 3: Covering with papier mache
Now here comes the exciting part! Cut the newspaper into 2cm strips. The strips must be longer than the length of the teacup. Next, take a strip and dip it into the glue-water paste and apply it neatly on the teacup, over the cling film. Leave one end of the strip hanging from the cup rim and fold the other end over the base.
Repeat this process until the entire cup is covered in thick papier mache.
Step 4: Making the handle
Take 8-10 strips that are wider and longer than the cup handle. Dip them in the glue mix and lay them one on top of the other. Shape the entire thing into a handle of your choice. Keep it aside.
The teacup is now almost done!
The Final Touches!
Step 5 : Attaching the handle
So, by this time, your teacup will be semi-dry. Here comes the nimble part! Peel away the papier mache cup very gently from the teacup. Remove the cling film and give the cup a few reforming touches here and there to reshape it.
Next, attach the semi-dry handle with a few more strips of wet paper.
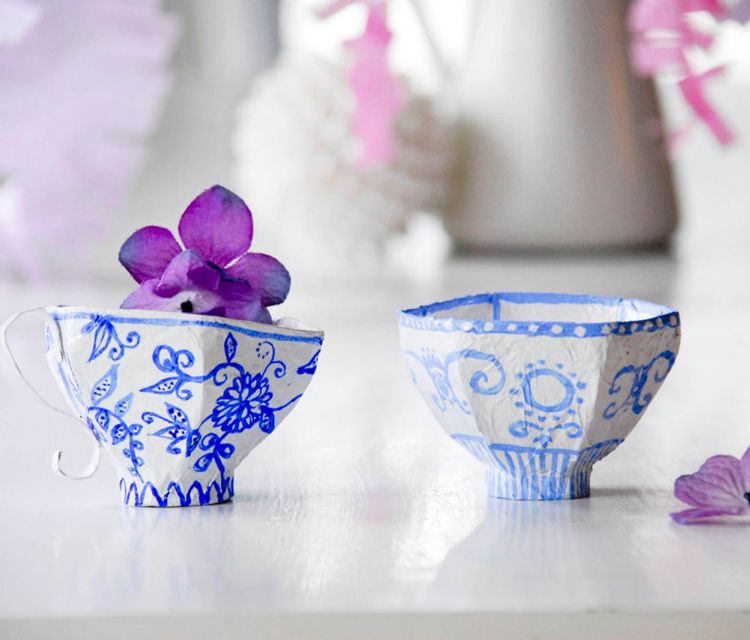
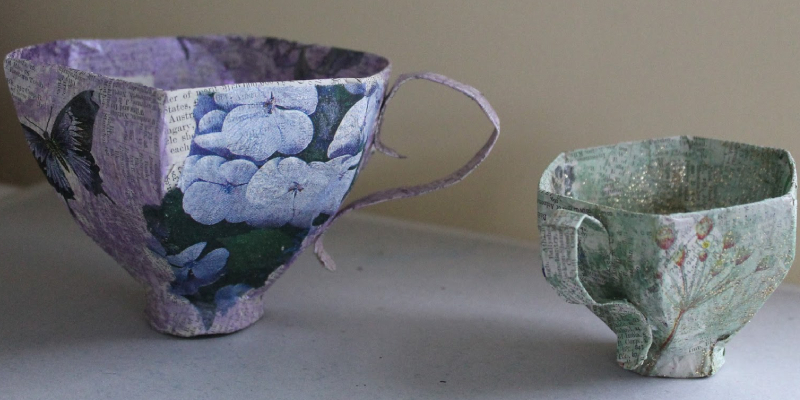
Keep your teacup in a safe place and allow it to dry completely. Once it is dry, cut away the excess paper and paint in the colors and designs of your choice!
And your papier mache teacup is ready! Aren’t crafts using paper cups fun?